
How to Create a Garden Path: Materials and Layouts
Learn how to create a garden path with the right materials and layout, from stepping stones and gravel to brick and flagstone with proper drainage.
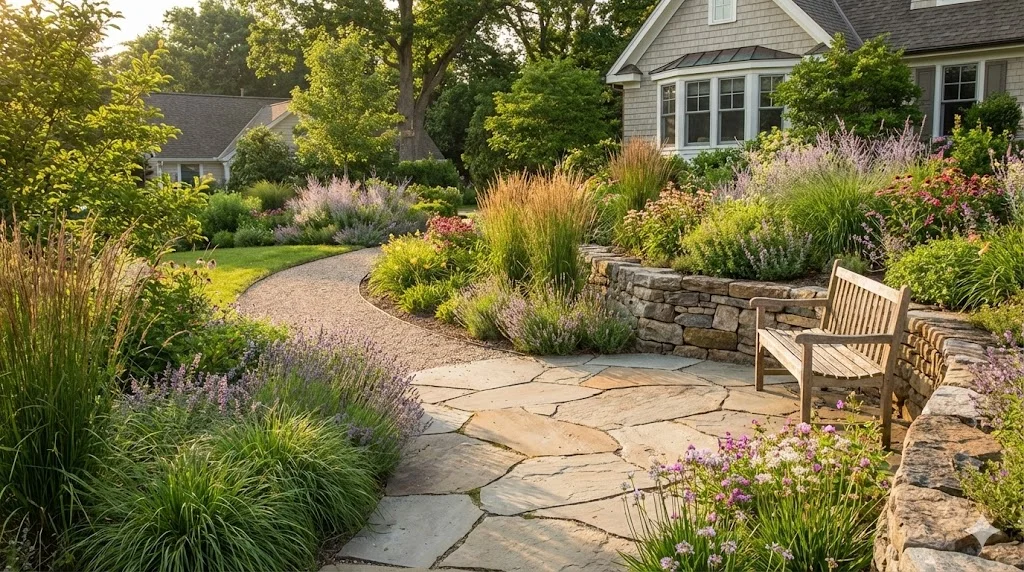
How to Create a Garden Path: Materials and Layouts
A garden path is far more than a way to get from one place to another without muddy shoes. It is one of the most powerful design tools in your garden, guiding movement, creating rhythm, framing views, and defining the character of the entire space. A straight gravel path through a formal garden feels entirely different from a curved stepping-stone trail through a woodland border, even if they cover the same distance.
Getting the path right -- the material, the width, the layout, and the drainage -- transforms a garden from a collection of features into a composed, navigable space. This guide covers everything you need to know to design and build garden paths that look beautiful and last for years. For the full garden design process, see our complete guide to designing a garden from scratch.
Why Paths Matter More Than You Think
Paths do four important things in a garden:
- They create circulation: They connect the house to the garden and link different areas within it
- They control pace: A straight path says "walk quickly." A curved path says "slow down and look around."
- They frame views: A path leading toward a focal point -- a tree, a bench, an urn -- creates anticipation and draws the eye
- They define space: Paths create edges between lawn and bed, seating area and planting, public and private zones
A garden without paths feels shapeless. Even a simple gravel strip between the back door and the shed gives the garden structure and intention.
Choosing the Right Path Width
Width determines whether a path feels generous or cramped, formal or casual.
- Stepping stones: 30-45 cm (12-18 inches) wide per stone, with gaps between. Informal and intimate.
- Secondary paths: 60-90 cm (2-3 feet) wide. Comfortable for one person. Suitable for garden exploration paths.
- Primary paths: 90-120 cm (3-4 feet) wide. Comfortable for two people to walk side by side. Appropriate for the main route from the house.
- Wheelchair or stroller accessible: Minimum 120 cm (4 feet) wide with a firm, level surface.
A path that is too narrow feels uncomfortable even if you cannot articulate why. When in doubt, make it wider. You will never regret a generous path, but you will notice a cramped one every time you use it.
Path Materials Compared
Natural Stone (Flagstone, Sandstone, Slate)
Pros: Beautiful, long-lasting, unique appearance, develops character with age, available in many colors and textures
Cons: Expensive, heavy, requires skilled laying for a professional finish, can be slippery when wet (especially smooth-finished stone)
Best for: Primary paths, formal gardens, cottage gardens, high-visibility areas
Natural stone is the gold standard for garden paths. It suits almost every garden style and looks better as it ages. Sandstone in warm buff and gold tones suits traditional and Mediterranean gardens. Blue-grey slate suits contemporary designs. Irregular flagstone suits cottage and informal styles.
Brick
Pros: Warm, traditional appearance, available in many patterns (herringbone, basket-weave, running bond), excellent with period properties
Cons: Can become slippery with algae in shady areas, frost damage possible with non-frost-rated bricks, labor-intensive to lay
Best for: Cottage gardens, period properties, formal herb gardens, paths alongside brick buildings
Brick paths create a wonderful rhythm with their repeating pattern. Herringbone is the strongest laying pattern and works well for paths. Reclaimed bricks have more character but are less uniform.
Gravel
Pros: Affordable, permeable (excellent for drainage), easy to install, suits almost every garden style, pleasant crunch underfoot
Cons: Migrates into lawns and beds without proper edging, uncomfortable to walk on in heels, needs occasional raking and topping up, not suitable for steep slopes
Best for: Cottage gardens, Mediterranean gardens, long paths where cost matters, informal areas
Gravel is the most versatile and affordable path material. Self-binding gravel compacts to form a firmer surface than loose gravel. Angular gravel locks together better than rounded pebbles. Choose a color that complements your house and garden: golden gravel suits warm stone, grey suits contemporary designs, and buff suits most settings.
Concrete Pavers
Pros: Consistent dimensions, wide range of styles (some convincingly mimic natural stone), relatively affordable, easy to lay on a DIY basis
Cons: Can look artificial, lower-quality pavers fade or stain, less unique than natural materials
Best for: Modern gardens, budget-friendly primary paths, utility areas
Modern concrete pavers have improved enormously. The best porcelain and pressed concrete pavers are difficult to distinguish from natural stone at a glance and offer better slip resistance and frost resistance.
Stepping Stones
Pros: Inexpensive, easy to install, create a casual and relaxed feeling, allow grass or ground cover to grow between
Cons: Unsuitable for primary paths or heavy traffic, spacing must be comfortable for natural stride length, can shift over time
Best for: Secondary paths through lawn, routes through planting beds, informal garden areas
Space stepping stones at a comfortable stride -- roughly 60-65 cm (24-26 inches) center to center. Set them into the lawn slightly below mowing height so you can mow straight over them.
Path Layout: Straight vs. Curved
Straight Paths
Straight paths are formal, efficient, and create strong sightlines. They work well when:
- The garden has a formal or modern design style
- You want to create a visual axis -- a direct line from door to focal point
- The path connects two specific points in the shortest way
- The garden is narrow, where curves would feel forced
Curved Paths
Curved paths are informal, exploratory, and create a sense of discovery. They work well when:
- The garden has an informal, naturalistic, or cottage style
- You want to slow people down and encourage them to notice the planting
- The garden has interesting features to reveal gradually
- You need to navigate around existing trees or obstacles
Important: Curves must have a reason. A curve that bends around a tree, a raised bed, or a change in level feels natural. A curve in the middle of an open lawn feels arbitrary. If there is no reason for the path to curve, keep it straight.
Combining Straight and Curved
Many of the best garden paths combine both. A straight path from the back door becomes a curve as it enters the planting area, then straightens again as it reaches the seating area at the far end. This combination creates rhythm and variety without feeling contrived.
Drainage: The Essential Detail
Water is a path's worst enemy. Standing water makes surfaces slippery, erodes foundations, and causes frost damage in winter. Every path needs a drainage strategy.
- Cross-fall: All hard-surfaced paths should slope very slightly to one side -- a fall of 1 in 60 (roughly 1.5 cm per meter or 1/4 inch per foot) is sufficient to shed water
- Gravel paths: Naturally permeable, but still need a slight crown (higher in the center) so water runs to the edges
- Edge drainage: Where paths meet walls or raised beds, install a narrow gravel strip or channel to carry water away
- Subbase: All paths except simple stepping stones need a compacted subbase of crushed stone (typically 75-100 mm / 3-4 inches deep) for stability and drainage
Building Your Path: Step by Step
- Mark the route: Use string lines for straight paths, a garden hose for curves. Stand back and view from the house and from within the garden.
- Excavate: Dig to the required depth -- typically 150-200 mm (6-8 inches) for a paved path (subbase + mortar + paving) or 100-150 mm (4-6 inches) for gravel.
- Install edging: Edging keeps materials in place and creates a clean line. Options include metal edging strips, brick soldiers, timber boards, or stone setts.
- Compact the subbase: Layer crushed stone and compact with a plate vibrator or hand tamper. This is the most important step for long-term stability.
- Lay the surface: Follow the specific instructions for your chosen material. For stone and brick, use a mortar bed or sand-and-cement mix. For gravel, lay landscape fabric over the subbase, then spread gravel to 30-50 mm (1-2 inches) depth.
- Joint and finish: Fill joints between pavers with kiln-dried sand or pointing mortar. For gravel, rake smooth and top up edges.
You can experiment with different path routes and materials in your garden layout before you start digging, which helps you commit to a design with confidence.
Common Path Mistakes
- Too narrow: The path you draw on paper always feels wider than the path on the ground. Add 15-20 cm (6-8 inches) to your planned width.
- No edging: Without edging, gravel migrates, pavers shift, and lawn creeps in. Always install proper edging.
- Ignoring drainage: A beautiful path that floods in rain is not a good path. Build in cross-fall and subbase drainage.
- Forced curves: Curves without reason look arbitrary. Let the garden's features guide the path shape.
- Inconsistent materials: Using too many different materials on paths creates visual chaos. Limit your garden to one or two path materials for cohesion.
Getting Started
Start with your most-used route -- probably the path from the back door to the main seating area. Get this path right, and it will set the tone for every other path in the garden. Choose a material that complements your house, size it generously, and make sure the drainage is right. Everything else follows from there.
For guidance on the seating area at the end of your path, see how to design a patio. For the complete design process, return to our beginner's guide to designing a garden from scratch.
Garden Design Team
Expert garden designers sharing tips, inspiration, and practical advice for creating beautiful outdoor spaces.
Explore professional garden design
Gardenly3D is a paid professional garden-design application. See plans for included capabilities and availability.
Join the waitlistRelated articles
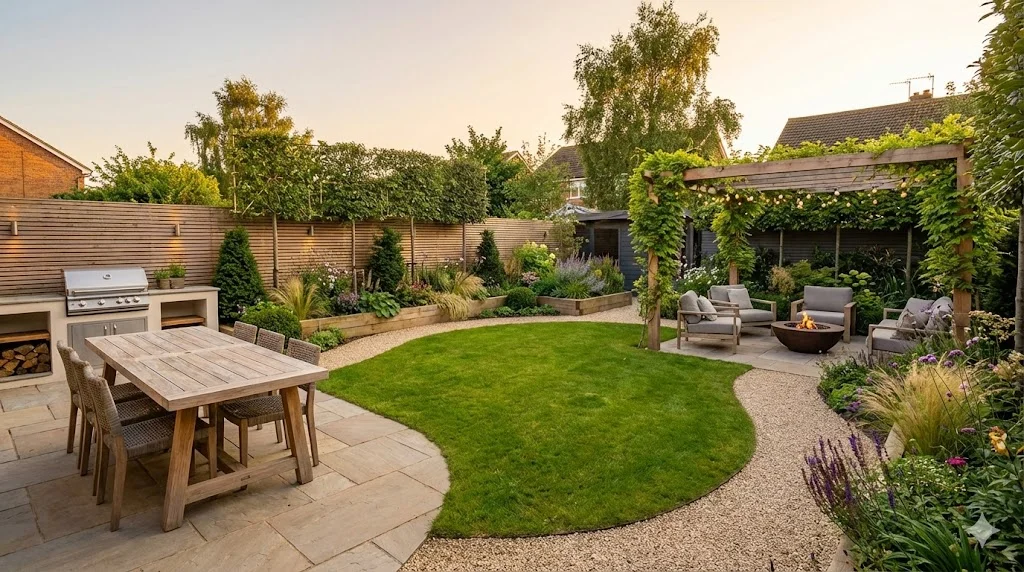
Backyard Garden Design: Creating Your Outdoor Sanctuary
Design a backyard that works as an outdoor living space. Zoning for dining, relaxation, and play, with privacy screening and year-round planting.
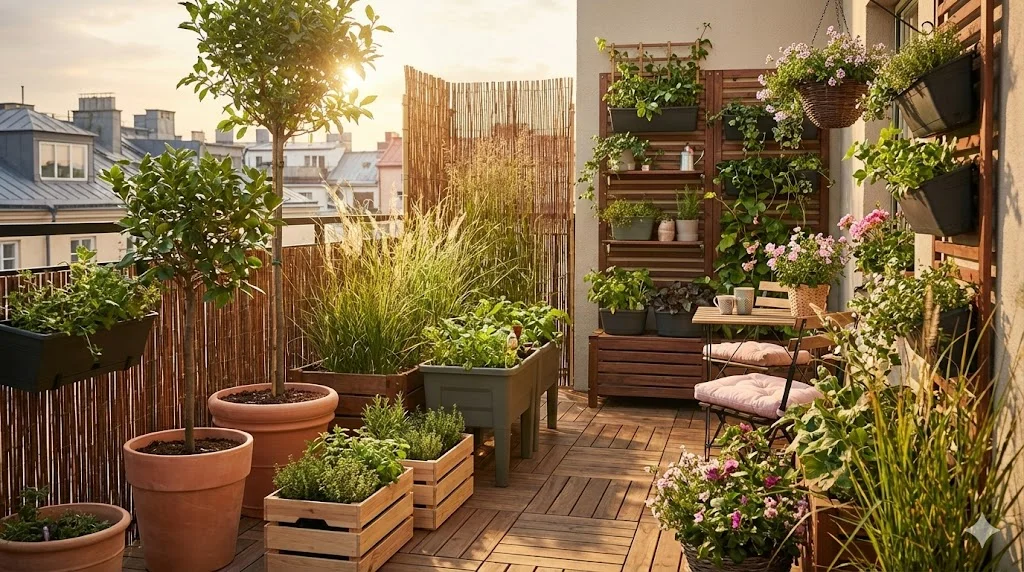
Balcony Garden Design: Growing in Containers
Create a thriving balcony garden with smart container choices, wind-resistant plants, vertical systems, and self-watering solutions for high-rise growing.
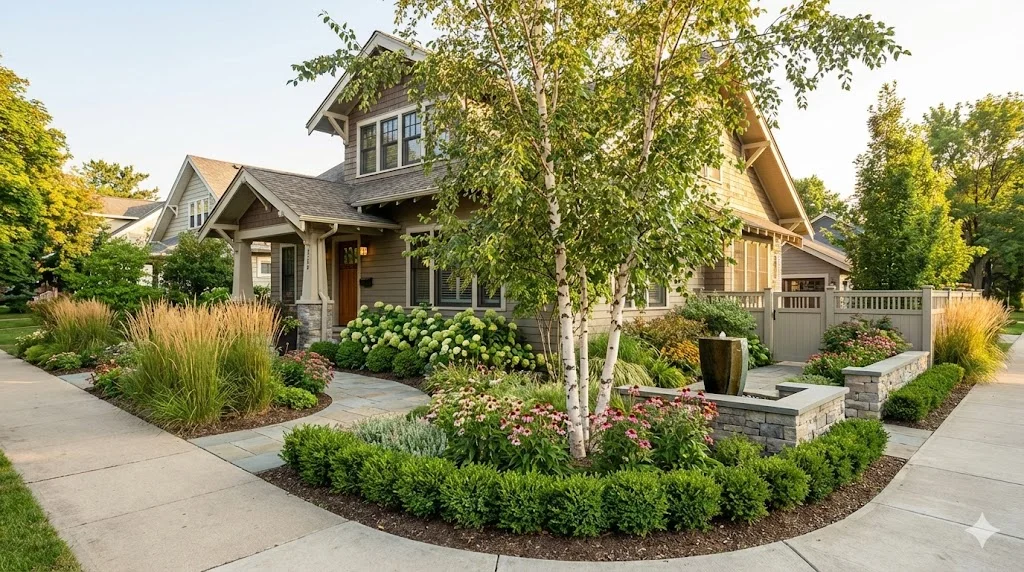
Corner Lot Garden Design: Two-Sided Curb Appeal
Design a corner lot garden that impresses from both streets. Dual frontage planting, visibility sightlines, wraparound beds, and privacy from two directions.